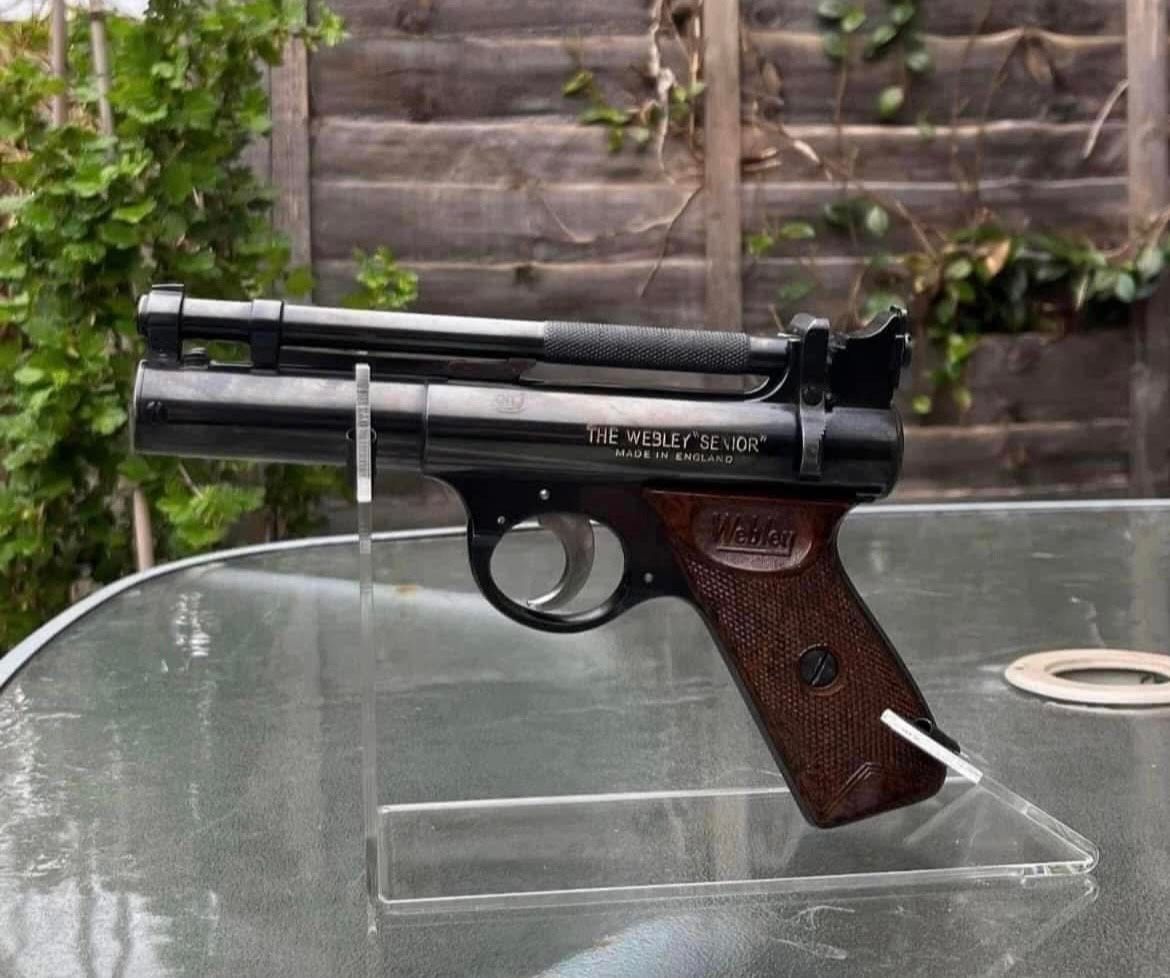
5 Common Problems

Paul Angel • July 7, 2026

5 Common Problems Found in Vintage Spring-Powered Air Rifles and Pistols

For collectors and restorers, vintage spring-powered air rifles and pistols represent more than just shooting equipment—they are pieces of engineering history. Whether you own a well-used workshop find or a cherished family heirloom, age inevitably takes its toll on mechanical components. Understanding the most common faults can help preserve both the performance and historical value of these classic airguns.


1. Deteriorated Piston Seals.

One of the most frequent issues encountered during restoration is a worn or hardened piston seal. Many vintage airguns used leather seals, which can dry out and lose their ability to create an effective air seal.


What to Look For:

>Reduced power output

>Inconsistent firing behaviour

>Difficulty maintaining compression


Restoration Tips:

Inspect the piston seal during disassembly. Leather seals can sometimes be revived through careful cleaning and reconditioning, while badly damaged seals may require replacement. Preserving original components where possible is often preferred by collectors, provided safe and reliable operation can be maintained.


2. Weak or Damaged Mainsprings.

After decades of use, storage, and repeated compression cycles, mainsprings can become weakened, distorted, or broken. A tired spring can significantly affect an airgun's performance.


What to Look For:

>Noticeable loss of power

>Excessive vibration during firing

>Unusual noises from the action


Restoration Tips:

Carefully inspect the spring for kinks, cracks, or uneven wear. When replacement is necessary, choose a spring that closely matches the original specifications to maintain the rifle or pistol's intended characteristics and collector value.


3. Dried Lubricants and Internal Corrosion.

Many vintage airguns arrive at the workbench with decades-old grease that has hardened into a sticky residue. Combined with moisture exposure, this can lead to internal corrosion and rough operation.


What to Look For:

>Stiff cocking action

>Rough firing cycle

>Visible rust on internal components


Restoration Tips:

Completely remove old lubricants and inspect all internal parts for corrosion. Light surface rust can often be cleaned away, but heavily damaged components may require repair or replacement. Always use lubricants designed specifically for spring-powered airguns when reassembling.


4. Excessive Vibration and Spring Twang.

Collectors restoring older airguns often encounter excessive vibration, commonly known as "spring twang." While some vibration is normal, excessive movement can affect both shooting comfort and accuracy.


What to Look For:

>Loud spring resonance

>Harsh firing behaviour

>Increased wear on internal parts


Restoration Tips:

Inspect spring guides, top hats, and washers for wear. A properly fitted spring and guide assembly can significantly reduce vibration while preserving the rifle's original character. Care should be taken not to over-modify historically significant examples.


5. Poor Accuracy.

Even the finest vintage air rifles and pistols can suffer from declining accuracy if neglected. Fortunately, the cause is often straightforward to identify.


What to Look For:

>Inconsistent groupings

>Pellets striking unpredictably

>Difficulty maintaining zero


Restoration Tips:

Begin with a thorough barrel cleaning and inspection. Check that stock screws, sight assemblies, and action screws are secure. Examine the muzzle crown for damage and test a range of pellet types, as many vintage airguns were designed around ammunition that differs from some modern offerings.


Preserving a Piece of Airgun History.

Restoring a vintage spring-powered air rifle or pistol is as much about preservation as it is performance. While replacing worn parts is sometimes necessary, collectors often strive to retain as much originality as possible. A carefully restored airgun not only performs better but also helps preserve an important piece of shooting heritage for future generations.


Whether you're working on a classic break-barrel rifle, an underlever model, or a vintage spring pistol, understanding these common issues is the first step towards a successful restoration.

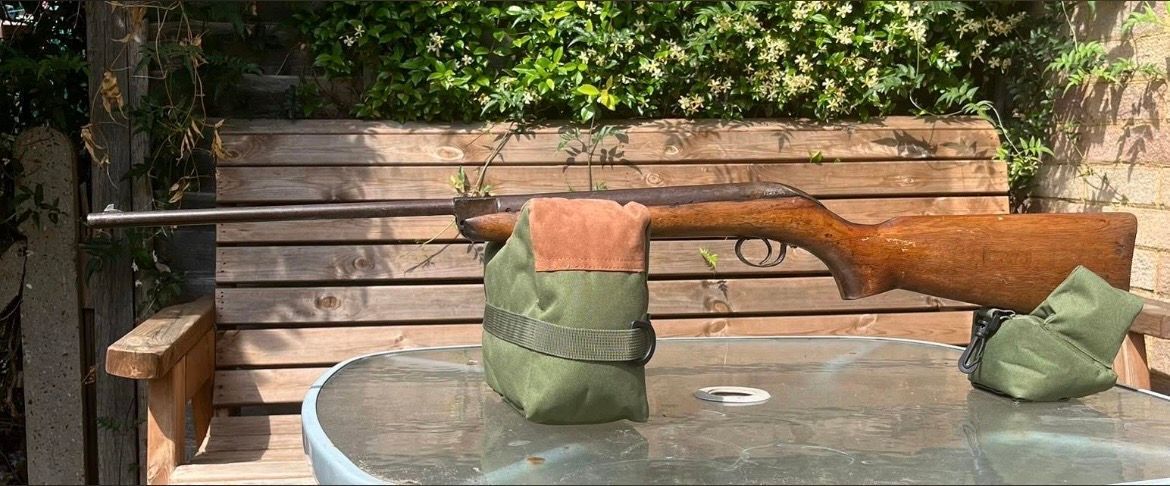
By Paul Angel July 24, 2026
Parts Due in or yet to be assessed or checked.
By Paul Angel July 21, 2026
Cold bluing is a simple and cost-effective way to restore the appearance of worn steel parts on air rifles and air pistols. While it will not be as durable as a professional hot-blued finish, it can produce excellent results when applied carefully and patiently.  Items You'll Need Cold bluing solution or gel. Degreaser (acetone works well). Fine wire wool (0000 grade). Clean cloths or paper towels. Nitrile gloves. Rust and blue remover (optional). Air gun or gun oil. Fine abrasive paper (240–1200 grit). Step 1 – Prepare the Metal Remove the existing finish using fine abrasive paper. If the metal has scratches or heavy corrosion, start with around 240-grit paper and gradually work up through finer grades, finishing with 600 to 1200 grit. Sand lengthways along the metal wherever possible. This produces a smoother, more traditional finish and helps avoid visible sanding marks. Ensure all rust, pitting residue, and old bluing have been removed before moving on. Step 2 – Degrease Thoroughly Using acetone and clean paper towels, wipe the bare metal until no dirt, oil, or dark residue remains. Any grease left on the surface can prevent the bluing solution from working properly. Step 3 – Warm the Metal Gently warm the metal using an oven, heat gun, or hair dryer until it feels hot to the touch but not excessively hot. Warming the metal helps the bluing solution react more evenly and can improve the final finish. Step 4 – Final Clean Give the warmed metal one final wipe with acetone to remove any fingerprints, dust, or contamination that may have appeared during handling. Step 5 – Apply the Bluing Solution Pour a small amount of cold bluing solution into a separate clean container. Never dip applicators directly into the original bottle, as contamination can reduce the effectiveness of the product. Using a cotton swab, cotton pad, or clean applicator, apply an even coat over the metal surface. Step 6 – Allow the Reaction to Work Leave the solution on the metal for the time recommended by the manufacturer, typically between one and three minutes. A grey or dark residue may appear on the surface. Once the reaction is complete, gently rub the metal with 0000-grade wire wool to smooth the finish. For a deeper colour, several light applications are usually better than one heavy application. Step 7 – Neutralise and Dry Rinse the metal thoroughly with cold water to stop the chemical reaction. Dry the surface completely using clean paper towels or a lint-free cloth. Once dry, lightly buff the metal with 0000-grade wire wool to remove any haze or uneven residue. Step 8 – Oil the Finish When you are satisfied with the colour and appearance, generously coat the metal with air gun or gun oil. Allow the oil to soak into the newly blued surface overnight. The following day, wipe away any excess oil with a clean cloth. This final step helps protect the finish and improves its durability. Safety Notes Cold bluing products contain chemicals that can be harmful if used incorrectly. Always work outdoors or in a well-ventilated area. Wear nitrile gloves and safety goggles at all times. Avoid skin and eye contact with the solution. Keep products away from children and pets. Protect work surfaces from spills by using a disposable, non-absorbent covering. Always follow the manufacturer's instructions supplied with your chosen bluing product. Final Thoughts Cold bluing is an excellent skill for collectors, restorers, and enthusiasts who want to improve the appearance of vintage air guns. The key to success is preparation. Taking extra time to remove rust, polish the metal, and thoroughly degrease the surface will usually have a greater impact on the final result than the bluing solution itself. Remember, patience produces the best finish.
By Paul Angel July 10, 2026
A Beginner's Guide to Renovating Wooden Air Rifle and Air Pistol Stocks.
By Paul Angel July 3, 2026
Air Gun Dating and Claims. 
By Paul Angel February 2, 2026
A Quick Guide To The Webley MK1.
By Paul Angel January 15, 2026
Webley Hurricane Dating and Series Differences.
By Paul Angel January 14, 2026
Webley Air Pistol Dating.