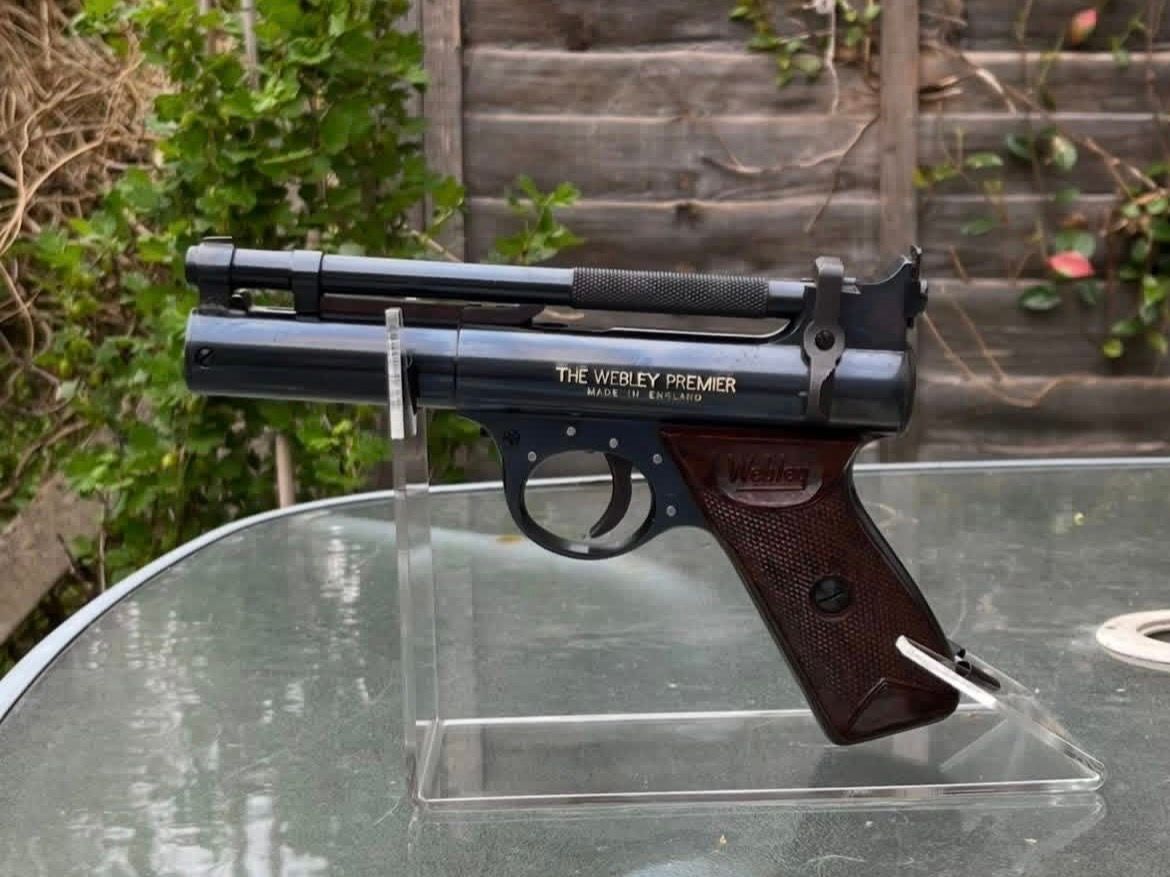
BSA Scorpion Air Pistol.
Collector's Quick Reference Guide.
The BSA Scorpion was introduced in 1973, although full-scale production is generally regarded as beginning around 1977. Production continued until 1992. A large, heavy spring-powered, break-barrel pistol, the Scorpion was produced mainly in .177 and .22 calibre and underwent several changes during its production life. For anyone interested in these pistols, the small differences between early and later examples are particularly interesting.
Early Scorpions.
The earliest examples are especially interesting because they differ from later pistols in several respects.
Features to look for include:
Early examples can be found with smoothbore barrels. Early pistols generally had no scope rail. Early sight arrangements differ from later examples. Early serial-number prefixes include PA (.177) and RA (.22). Later .22 examples include the RB prefix. Some early .22 Scorpions were recalled and modified because of power levels exceeding the UK air-pistol limit applicable at the time. Important: A serial prefix should not be used on its own to determine the specification or current power of a surviving pistol.
Mk1 Scorpion.
The Mk1 changed during its production period, so not every Mk1 will have exactly the same specification.
Typical early Mk1 characteristics include: No scope rail on the earliest examples, Open sights, Spring-piston action, Break-barrel loading, Automatic safety, Large moulded black plastic grip/stock, Black-finished metalwork, Later Mk1 examples incorporated some features associated with the later pistol, making the distinction between late Mk1 and Mk2 less straightforward than it first appears.
Mk2 Scorpion.
The later Scorpion specification became established during the 1980s, with production continuing until approximately 1992.
The most obvious change is the factory-machined scope rail. Other changes can include differences in: Sights, Safety components, Trigger components, Internal parts, Finish, Serial-number prefixes. Because components can have been replaced during the pistol's lifetime, individual examples do not always conform perfectly to their original specification.
Scope Rails.
The absence or presence of a scope rail is one of the easiest external differences to spot. Early examples, No factory scope rail. Later examples, Machined dovetail scope rail. However, the scope rail should not be regarded as an absolute Mk1/Mk2 identification method, as later Mk1 and transitional examples can complicate the picture.
Power.
Power is an important part of the Scorpion's history. Some early .22 examples developed a reputation for exceeding the UK air-pistol power limit and were subsequently recalled for modification. With surviving examples now many decades old, however, the current power of an individual pistol cannot be reliably established from its age, model or serial number. Spring, seal and piston condition can all affect performance.
Original Packaging & Accessories.
A complete boxed Scorpion is particularly interesting.
Original accessories and packaging can include: Cardboard outer box, Polystyrene internal tray, Plastic cocking aid, Front sight hood, Target holder/pellet catcher, Target cards, Pellet container, Oil, Instruction leaflet and Test card. Packaging and accessories changed over the production period, so surviving original items can provide useful clues when researching an individual example.
Common Maintenance Problems.
After more than 30 years, the condition of the internal components is often more important than the external appearance. Piston Seal & Buffer. One of the most common problems encountered with an old Scorpion is deterioration of the piston seal and buffer components.
With age, these materials can: Break down, Become brittle, Swell, Disintegrate, Interfere with piston movement. Deteriorated material can cause the piston to become stiff or even jam inside the cylinder. An untouched Scorpion that has been stored for many years should therefore be inspected rather than simply cocked and fired.
Trigger Mechanism.
The Scorpion trigger mechanism is relatively complicated compared with many other vintage spring-powered air pistols. It contains several interacting components, springs and sear parts, and care is required when dismantling it. The trigger is adjustable, but access to the adjustment mechanism is not particularly straightforward. For anyone servicing a Scorpion, keeping the trigger components organised and recording their position during dismantling is strongly recommended.
Lubrication.
Old Scorpions should not simply be flooded with oil. The piston assembly contains rubber and synthetic components that can deteriorate or react adversely to unsuitable lubricants. A sensible approach is to clean, inspect and lubricate only the appropriate areas, rather than applying excessive oil throughout the mechanism.
Black Plastic Grip/Stock.
The Scorpion's moulded black plastic grip/stock is one of its most recognisable features. After decades of use and storage, examples can suffer from: Scratches, Scuffing, Dull or faded areas, Damage around the grip, Cracks or distortion. When servicing a Scorpion, the original plastic should be treated carefully. Aggressive polishing, abrasives or unsuitable solvents can permanently alter the original surface finish.
Where possible, retaining the original plastic and its period appearance is preferable to attempting to make an older pistol look new.
A Classic BSA.
The BSA Scorpion is an excellent example of why vintage airguns should be examined by their individual features rather than simply by model name. From the early smoothbore examples through the developing Mk1 specification and into the later Mk2 pistols, the Scorpion underwent numerous small changes before production finally ended in 1992. For anyone interested in these pistols, those small differences are what make the Scorpion such an interesting part of British airgun history.