Webley Stinger.

Paul Angel • September 24, 2026

Webley Stinger Air Pistol Collectors Reference Guide.


The Webley Stinger is one of the most unusual pistols to come from Webley’s Birmingham factory from 1996 to 2005 and, arguably, one of the most overlooked. Produced during the final years of Birmingham Webley airgun production, the Stinger represented a dramatic departure from the company's traditional air pistol designs. Its modern appearance and recreational purpose were a long way removed from the classic Senior, Premier, Hurricane and Tempest. The Stinger was essentially designed as a fun, recreational air pistol, rather than a serious target pistol, and is believed by some to have been Webley's answer to the increasing number of inexpensive imported air pistols appearing on the market. Today, its unusual design makes it an interesting part of Webley history.


Shooting and Ammunition.

Unlike most traditional Webley air pistols, the Stinger uses .177 steel BB ammunition rather than conventional lead pellets. Its smoothbore barrel and BB magazine make it quite different from a typical pellet-firing Webley. This also explains much of the pistol's character. The Stinger was designed for informal shooting and plinking rather than precision target work. Collectors should remember that the Stinger's loading, cocking and firing system is quite different from conventional Webley spring-piston pistols, and it should be maintained acordingly.


Maintenance.

The Stinger's unusual slide mechanism is one of the main areas to inspect on an older example. The slide should operate smoothly and without excessive resistance, grinding or binding. Dirt, corrosion and old dried lubricant can all affect its operation.


Particular attention should be given to:

  • Slide and cocking mechanism
  • Internal spring and seals
  • Magazine and BB loading system
  • Wear around moving components
  • Signs of corrosion or excessive lubrication


As with any vintage spring-powered air pistol, an example that has been stored for many years should not simply be repeatedly cocked and fired to see whether it works. Old springs, seals and other internal components can deteriorate with age and may require inspection before use. The original black epoxy-type finish should also be treated carefully. Aggressive polishing or attempts to re-blue the pistol can permanently damage its original finish. Gentle cleaning and appropriate protection are preferable.


Black and Silver Versions.

The standard Stinger was finished in black, but by approximately 1998 a silver version was also available.  The silver paint was applied to the metal portions of the pistol and gives the Stinger a very different appearance. It has similarities to some of the silver-finished special-edition Nemesis and Pony Club models produced during the same period. Both finishes are of interest to collectors, particularly when accompanied by original packaging. There is a rumour of an orange version, but this is unconfirmed.


The Original Clam-Pack.

The Stinger was supplied in a distinctive  clear plastic clam-pack. Unfortunately, these packages have not always aged particularly well. Prolonged exposure to ultraviolet light can cause the plastic to become yellow, cloudy, brittle or cracked.  Consequently, an original Stinger still in its clam-pack is increasingly interesting to collectors. Even discolouration can be regarded as part of the packaging's age and history rather than necessarily indicating that it is not original.


The Final Birmingham Webleys.

The Stinger has an important place in Webley history because it belongs to the final generation of air pistols produced in England. The Hurricane, Tempest, Nemesis and Stinger were among the last Webley air pistols produced in Birmingham, with English production ending in December 2005. For many years the Stinger was largely overlooked because of its radical appearance and its departure from traditional Webley design. However, some collectors are now beginning to appreciate these final Birmingham models for their historical importance and potential future rarity.


Collector's Summary.

The Stinger may never have the traditional appeal of a pre-war Webley or a classic Senior or Premier, but it represents something equally important—the end of an era. Its unusual BB-firing system, distinctive design, alternative nickel finish, vulnerable original packaging and position within the final years of Birmingham production make it a fascinating Webley to preserve. For collectors of Webley air pistols, the Stinger should perhaps be viewed not as an oddity, but as the final chapter in the story of British-made Webley air pistols.


Angel Air Parts – preserving the parts, history and knowledge behind classic air pistols.
By Paul Angel • September 17, 2026
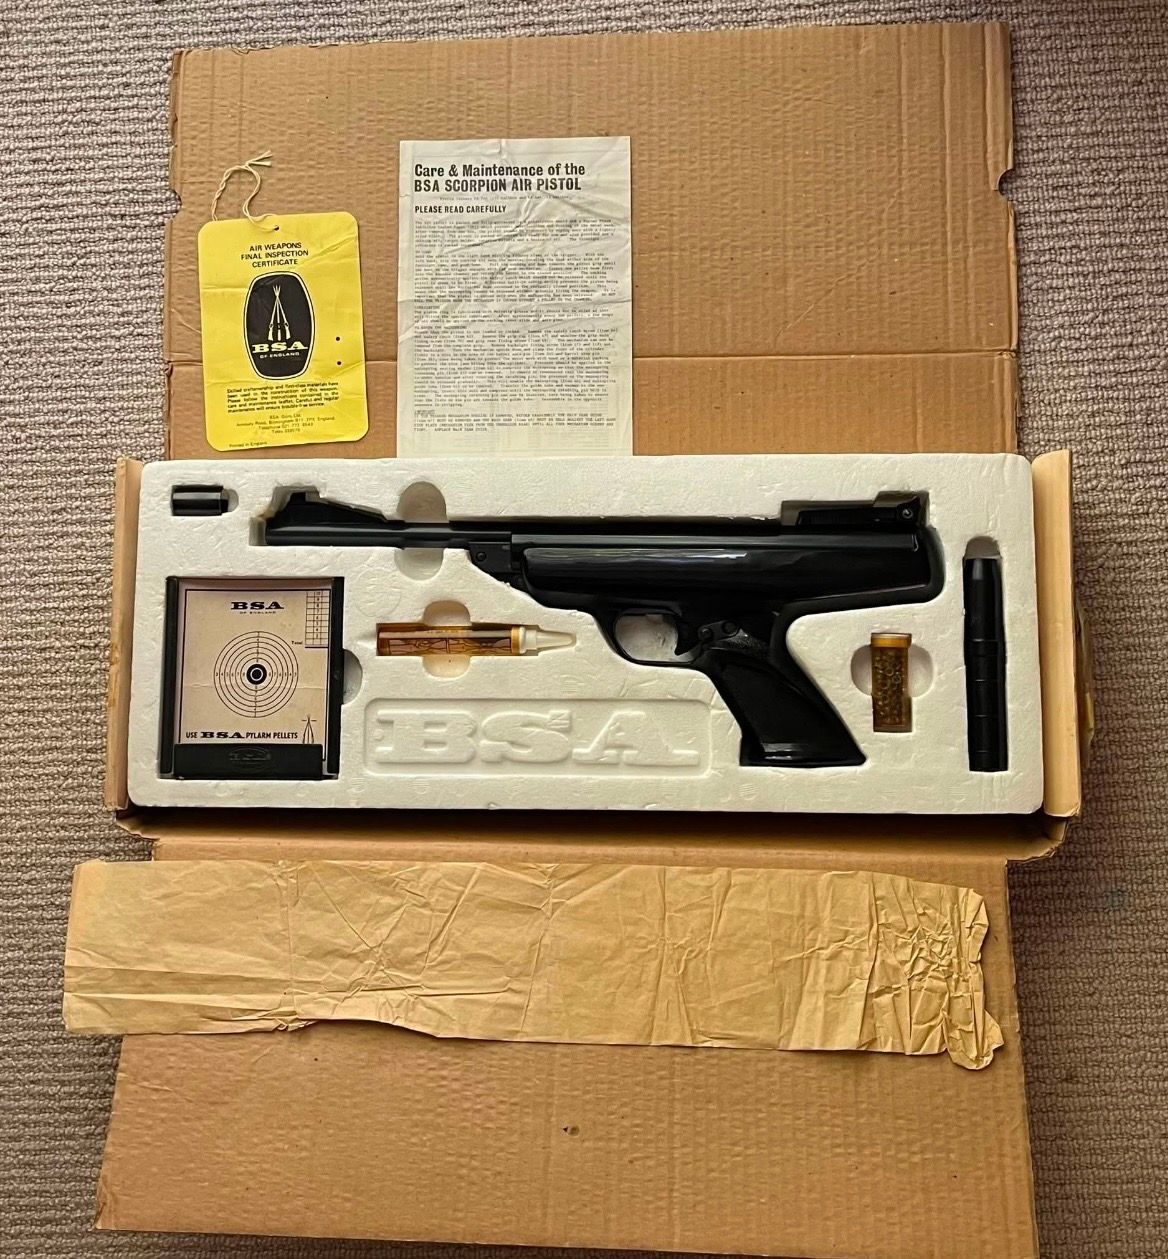
Collector's Quick Reference Guide. The BSA Scorpion was introduced in 1973, although full-scale production is generally regarded as beginning around 1977. Production continued until 1992. A large, heavy spring-powered, break-barrel pistol, the Scorpion was produced mainly in .177 and .22 calibre and underwent several changes during its production life. For anyone interested in these pistols, the small differences between early and later examples are particularly interesting. Early Scorpions. The earliest examples are especially interesting because they differ from later pistols in several respects. Features to look for include: Early examples can be found with smoothbore barrels. Early pistols generally had no scope rail. Early sight arrangements differ from later examples. Early serial-number prefixes include PA (.177) and RA (.22). Later .22 examples include the RB prefix. Some early .22 Scorpions were recalled and modified because of power levels exceeding the UK air-pistol limit applicable at the time. Important: A serial prefix should not be used on its own to determine the specification or current power of a surviving pistol. Mk1 Scorpion. The Mk1 changed during its production period, so not every Mk1 will have exactly the same specification. Typical early Mk1 characteristics include: No scope rail on the earliest examples, Open sights, Spring-piston action, Break-barrel loading, Automatic safety, Large moulded black plastic grip/stock, Black-finished metalwork, Later Mk1 examples incorporated some features associated with the later pistol, making the distinction between late Mk1 and Mk2 less straightforward than it first appears. Mk2 Scorpion. The later Scorpion specification became established during the 1980s, with production continuing until approximately 1992. The most obvious change is the factory-machined scope rail. Other changes can include differences in: Sights, Safety components, Trigger components, Internal parts, Finish, Serial-number prefixes. Because components can have been replaced during the pistol's lifetime, individual examples do not always conform perfectly to their original specification. Scope Rails. The absence or presence of a scope rail is one of the easiest external differences to spot. Early examples, No factory scope rail. Later examples, Machined dovetail scope rail. However, the scope rail should not be regarded as an absolute Mk1/Mk2 identification method, as later Mk1 and transitional examples can complicate the picture. Power. Power is an important part of the Scorpion's history. Some early .22 examples developed a reputation for exceeding the UK air-pistol power limit and were subsequently recalled for modification. With surviving examples now many decades old, however, the current power of an individual pistol cannot be reliably established from its age, model or serial number. Spring, seal and piston condition can all affect performance. Original Packaging & Accessories. A complete boxed Scorpion is particularly interesting. Original accessories and packaging can include: Cardboard outer box, Polystyrene internal tray, Plastic cocking aid, Front sight hood, Target holder/pellet catcher, Target cards, Pellet container, Oil, Instruction leaflet and Test card. Packaging and accessories changed over the production period, so surviving original items can provide useful clues when researching an individual example. Common Maintenance Problems. After more than 30 years, the condition of the internal components is often more important than the external appearance. Piston Seal & Buffer. One of the most common problems encountered with an old Scorpion is deterioration of the piston seal and buffer components. With age, these materials can: Break down, Become brittle, Swell, Disintegrate, Interfere with piston movement. Deteriorated material can cause the piston to become stiff or even jam inside the cylinder. An untouched Scorpion that has been stored for many years should therefore be inspected rather than simply cocked and fired. Trigger Mechanism. The Scorpion trigger mechanism is relatively complicated compared with many other vintage spring-powered air pistols. It contains several interacting components, springs and sear parts, and care is required when dismantling it. The trigger is adjustable, but access to the adjustment mechanism is not particularly straightforward. For anyone servicing a Scorpion, keeping the trigger components organised and recording their position during dismantling is strongly recommended. Lubrication. Old Scorpions should not simply be flooded with oil. The piston assembly contains rubber and synthetic components that can deteriorate or react adversely to unsuitable lubricants. A sensible approach is to clean, inspect and lubricate only the appropriate areas, rather than applying excessive oil throughout the mechanism. Black Plastic Grip/Stock. The Scorpion's moulded black plastic grip/stock is one of its most recognisable features. After decades of use and storage, examples can suffer from: Scratches, Scuffing, Dull or faded areas, Damage around the grip, Cracks or distortion. When servicing a Scorpion, the original plastic should be treated carefully. Aggressive polishing, abrasives or unsuitable solvents can permanently alter the original surface finish. Where possible, retaining the original plastic and its period appearance is preferable to attempting to make an older pistol look new. A Classic BSA. The BSA Scorpion is an excellent example of why vintage airguns should be examined by their individual features rather than simply by model name. From the early smoothbore examples through the developing Mk1 specification and into the later Mk2 pistols, the Scorpion underwent numerous small changes before production finally ended in 1992. For anyone interested in these pistols, those small differences are what make the Scorpion such an interesting part of British airgun history. Angel Air Parts – preserving the parts, history and knowledge behind classic air pistols.

By Paul Angel • July 24, 2026
Parts Due in or yet to be assessed or checked.
By Paul Angel • July 21, 2026
Cold bluing is a simple and cost-effective way to restore the appearance of worn steel parts on air rifles and air pistols. While it will not be as durable as a professional hot-blued finish, it can produce excellent results when applied carefully and patiently.  Items You'll Need Cold bluing solution or gel. Degreaser (acetone works well). Fine wire wool (0000 grade). Clean cloths or paper towels. Nitrile gloves. Rust and blue remover (optional). Air gun or gun oil. Fine abrasive paper (240–1200 grit). Step 1 – Prepare the Metal Remove the existing finish using fine abrasive paper. If the metal has scratches or heavy corrosion, start with around 240-grit paper and gradually work up through finer grades, finishing with 600 to 1200 grit. Sand lengthways along the metal wherever possible. This produces a smoother, more traditional finish and helps avoid visible sanding marks. Ensure all rust, pitting residue, and old bluing have been removed before moving on. Step 2 – Degrease Thoroughly Using acetone and clean paper towels, wipe the bare metal until no dirt, oil, or dark residue remains. Any grease left on the surface can prevent the bluing solution from working properly. Step 3 – Warm the Metal Gently warm the metal using an oven, heat gun, or hair dryer until it feels hot to the touch but not excessively hot. Warming the metal helps the bluing solution react more evenly and can improve the final finish. Step 4 – Final Clean Give the warmed metal one final wipe with acetone to remove any fingerprints, dust, or contamination that may have appeared during handling. Step 5 – Apply the Bluing Solution Pour a small amount of cold bluing solution into a separate clean container. Never dip applicators directly into the original bottle, as contamination can reduce the effectiveness of the product. Using a cotton swab, cotton pad, or clean applicator, apply an even coat over the metal surface. Step 6 – Allow the Reaction to Work Leave the solution on the metal for the time recommended by the manufacturer, typically between one and three minutes. A grey or dark residue may appear on the surface. Once the reaction is complete, gently rub the metal with 0000-grade wire wool to smooth the finish. For a deeper colour, several light applications are usually better than one heavy application. Step 7 – Neutralise and Dry Rinse the metal thoroughly with cold water to stop the chemical reaction. Dry the surface completely using clean paper towels or a lint-free cloth. Once dry, lightly buff the metal with 0000-grade wire wool to remove any haze or uneven residue. Step 8 – Oil the Finish When you are satisfied with the colour and appearance, generously coat the metal with air gun or gun oil. Allow the oil to soak into the newly blued surface overnight. The following day, wipe away any excess oil with a clean cloth. This final step helps protect the finish and improves its durability. Safety Notes Cold bluing products contain chemicals that can be harmful if used incorrectly. Always work outdoors or in a well-ventilated area. Wear nitrile gloves and safety goggles at all times. Avoid skin and eye contact with the solution. Keep products away from children and pets. Protect work surfaces from spills by using a disposable, non-absorbent covering. Always follow the manufacturer's instructions supplied with your chosen bluing product. Final Thoughts Cold bluing is an excellent skill for collectors, restorers, and enthusiasts who want to improve the appearance of vintage air guns. The key to success is preparation. Taking extra time to remove rust, polish the metal, and thoroughly degrease the surface will usually have a greater impact on the final result than the bluing solution itself. Remember, patience produces the best finish.
By Paul Angel • July 10, 2026
A Beginner's Guide to Renovating Wooden Air Rifle and Air Pistol Stocks.
By Paul Angel • July 7, 2026
5 Common Problems Found in Vintage Spring-Powered Air Rifles and Pistols
By Paul Angel • July 3, 2026
Air Gun Dating and Claims. 
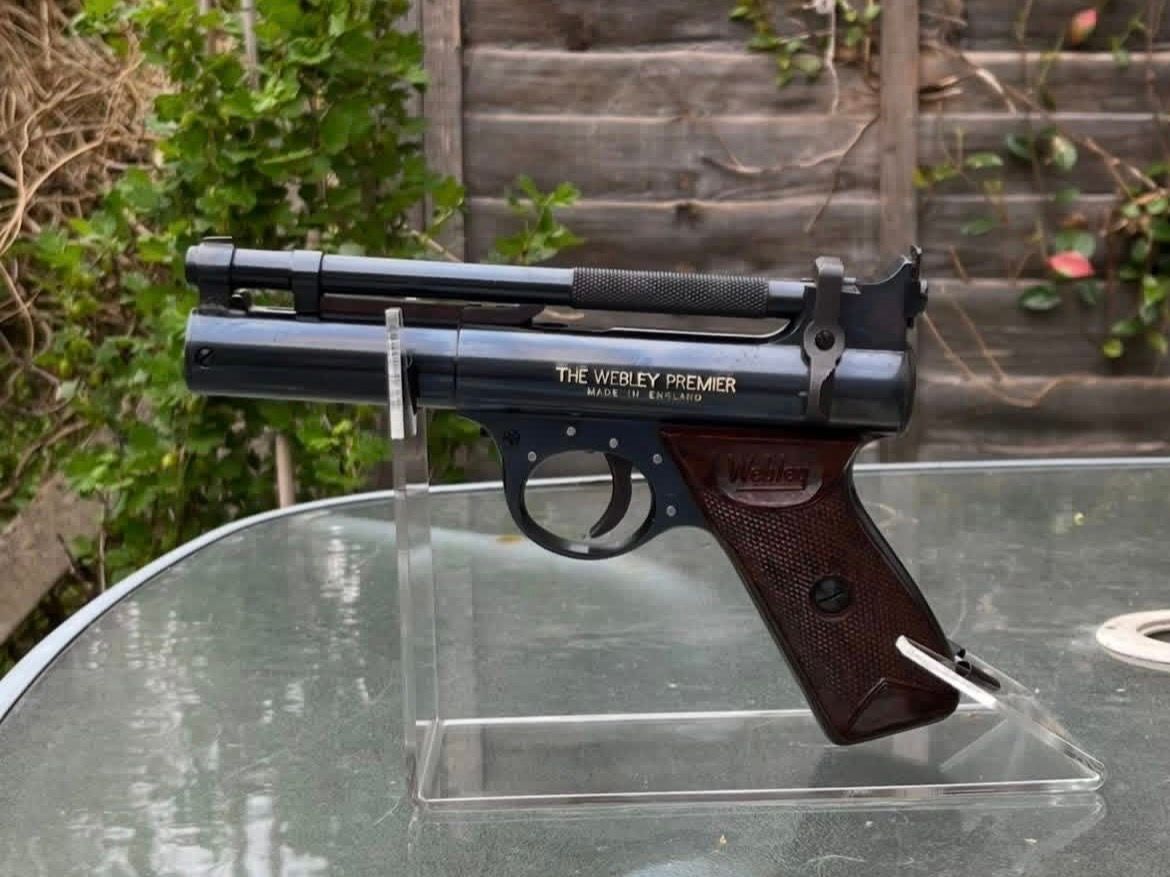
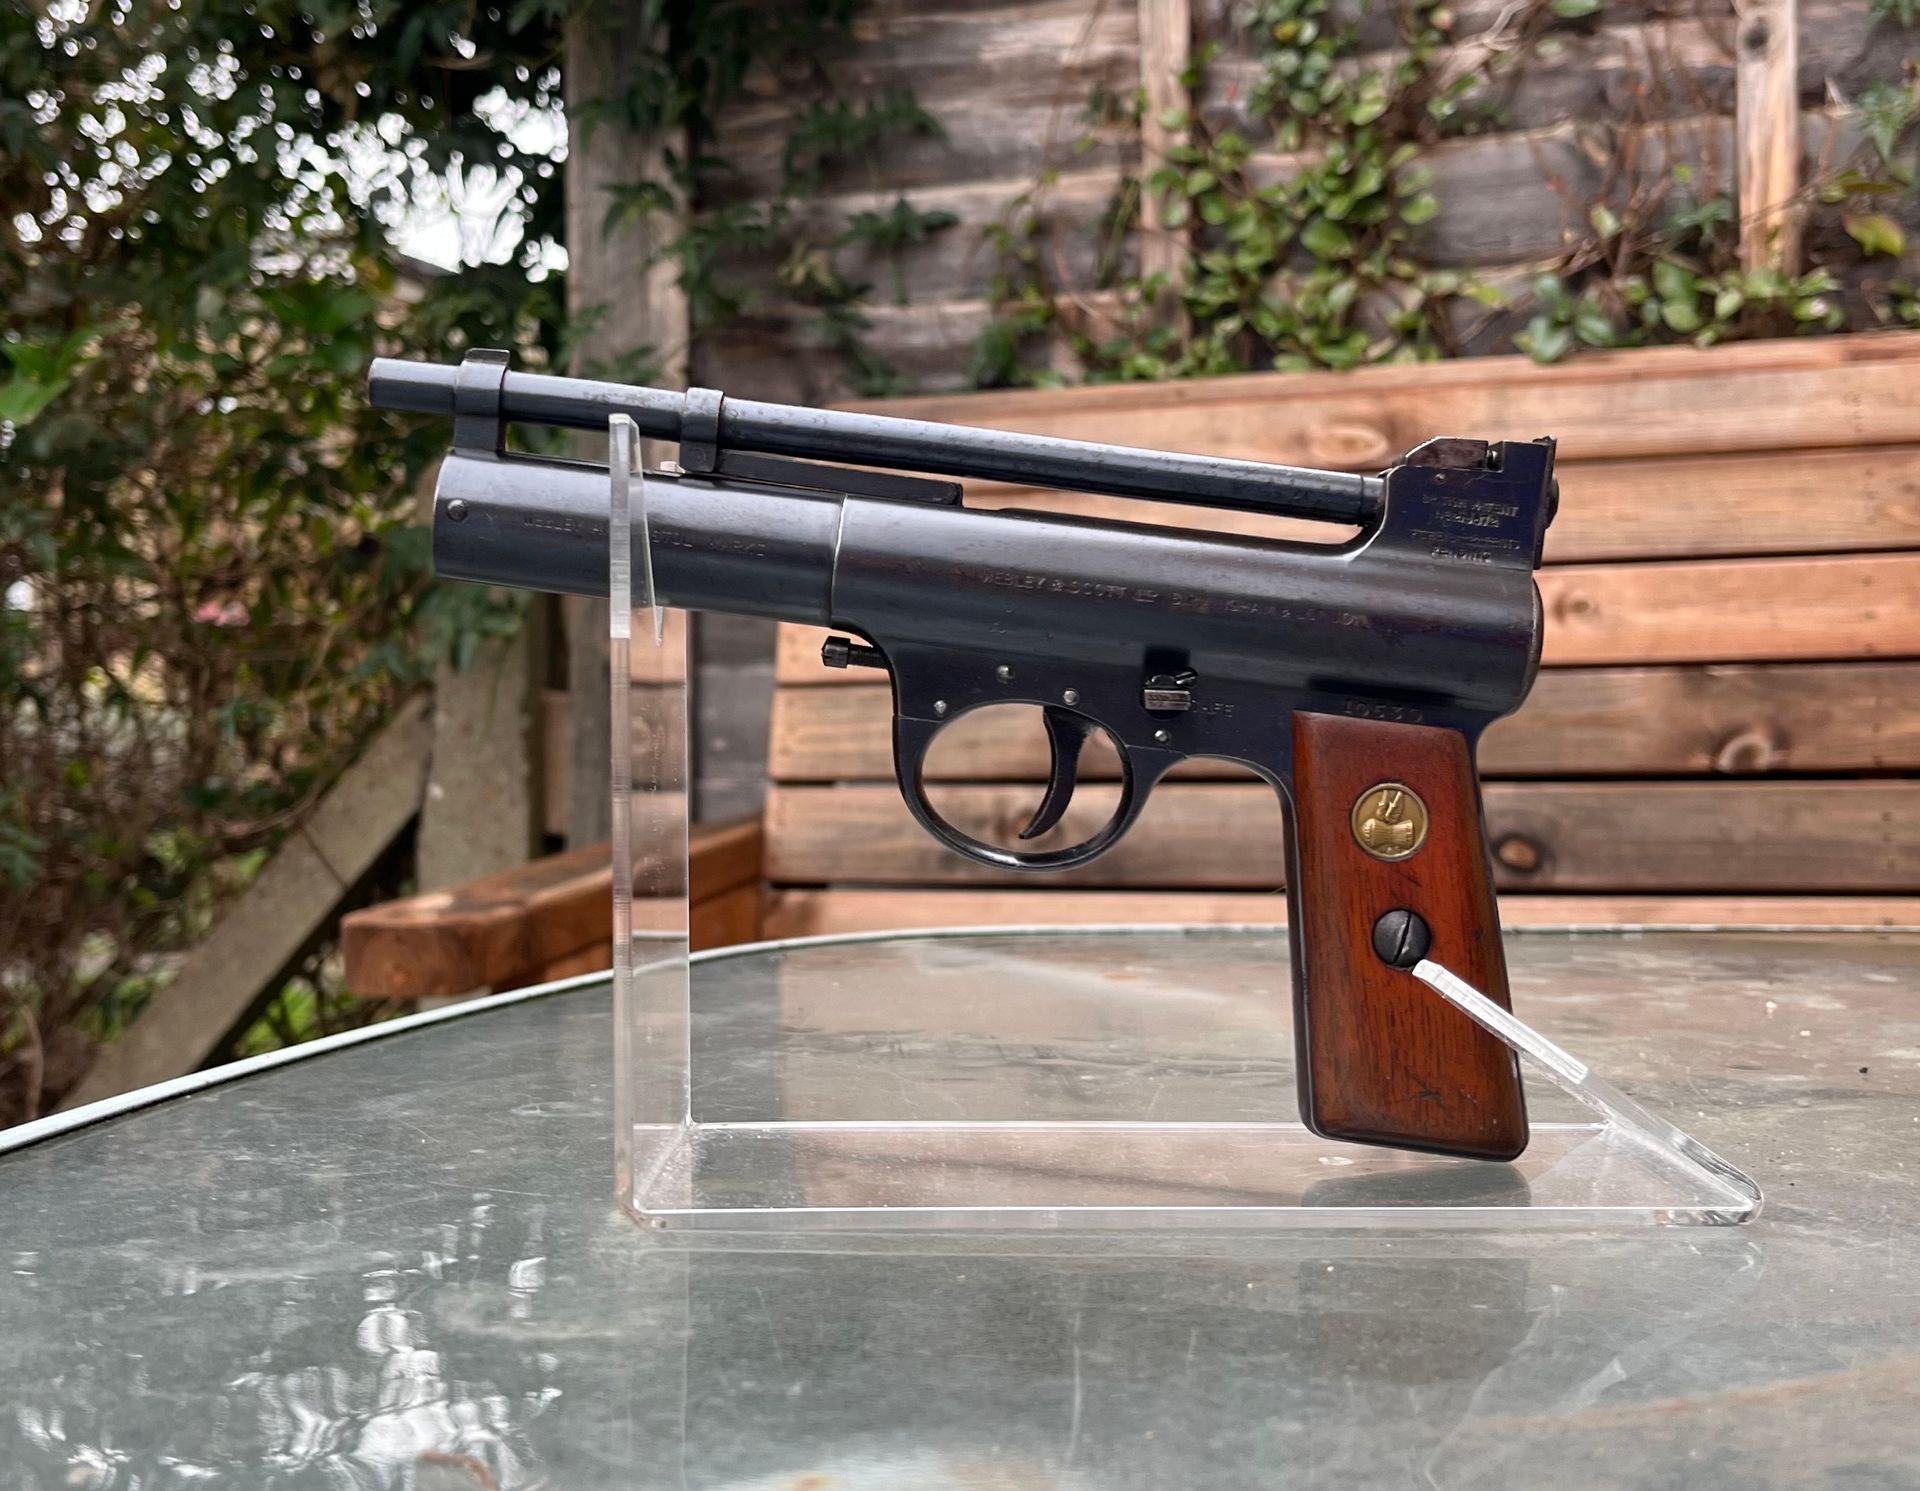
Air pistol on a clear stand, set against a wooden fence. It is black with a brown handle.
By Paul Angel • February 2, 2026
A Quick Guide To The Webley MK1.
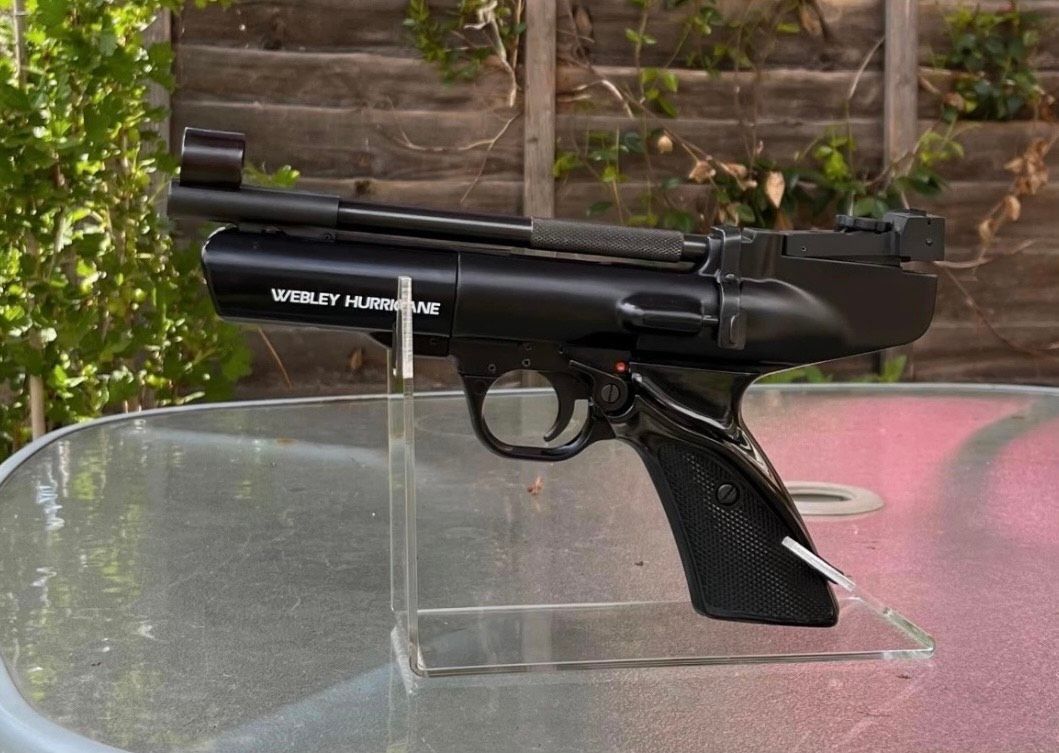
Black air pistol on a clear stand, outdoors.
By Paul Angel • January 15, 2026
Webley Hurricane Dating and Series Differences.
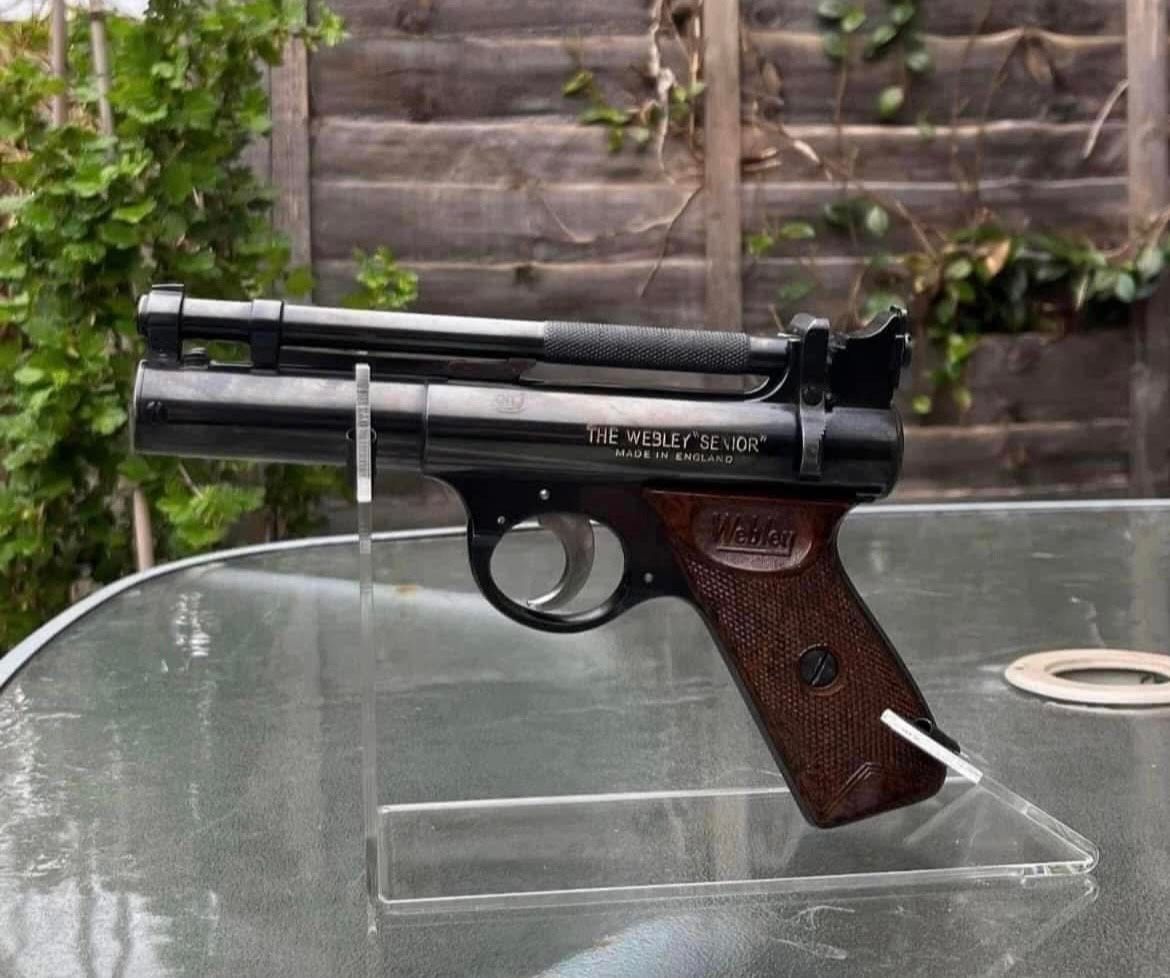
Black air pistol with brown grip on a glass surface. Outdoors.
By Paul Angel • January 14, 2026
Webley Air Pistol Dating.